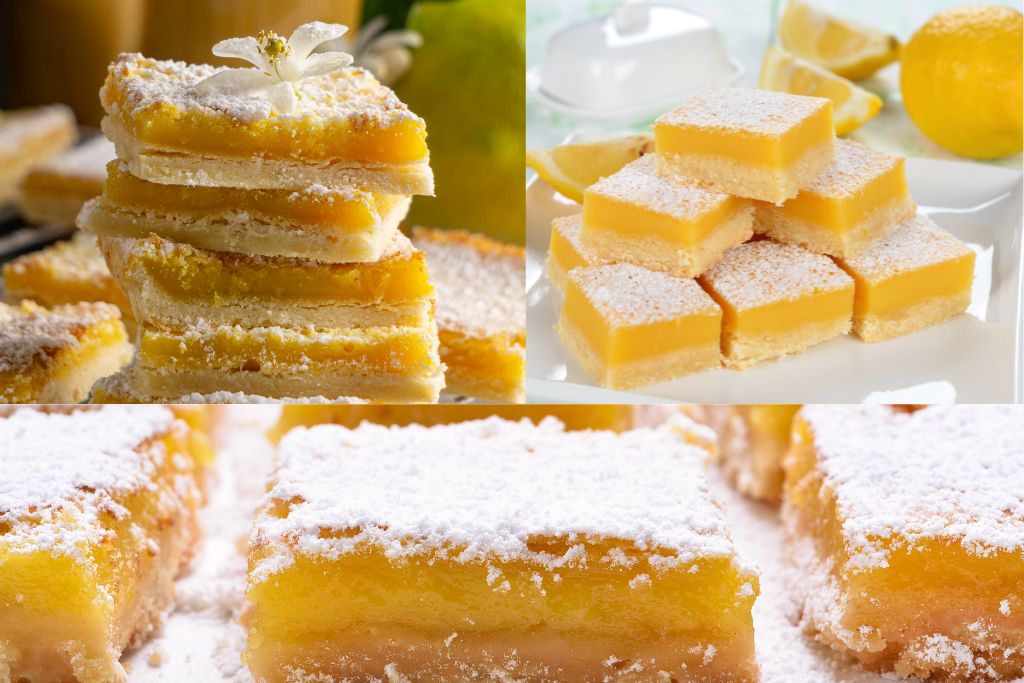
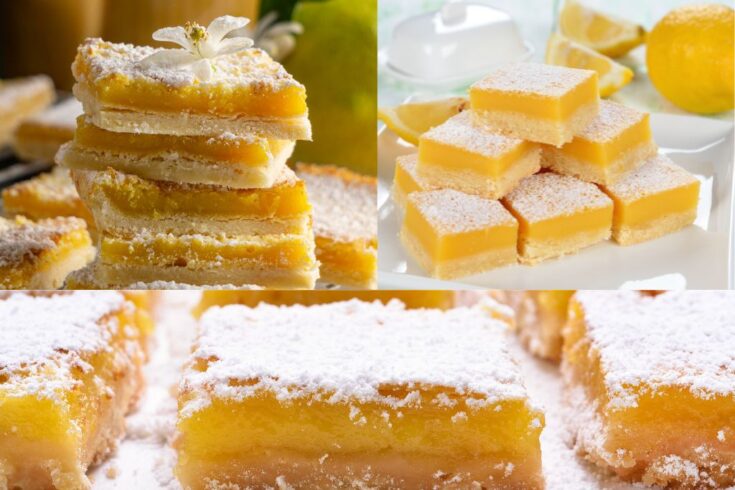
Best Recipes of Lemon Bars
Lemon bars are a delightful dessert that combines the perfect balance of tangy and sweet flavors. It’s great for lemon lovers, both in the winter, serving it with a cup of hot chocolate but also in the summer, it a refreshing lemonade. It’s light fresh texture makes it suitable for any occasion, from birthdays to meal pack, from bridal showers to cosy Sunday morning delight.
We’ll explore here a variety of lemon bar recipes, starting with the classic lemon bars recipe and then diving into exciting variations to suit different tastes and preferences. By offering practical tips and techniques for each lemon dessert recipe, I aim to make the baking process enjoyable and stress-free, whether you’re a seasoned baker or just starting out. I myself was pretty nervous to make it the first time but now they are the preferred lemon desserts in my daughter’s bake sales.
Key Ingredients for the Perfect Lemon Bars
To achieve the perfect lemon bars, it’s essential to use high-quality ingredients that contribute to the overall flavor and texture. Let’s take a look at the key ingredients that make these zesty delights truly exceptional.
What is lemon bar crust made of?
- 1 cup (16 Tbsp; 226g) unsalted butter, melted
- 1/2 cup (100g) granulated sugar
- 2 teaspoons pure vanilla extract
- 1/2 teaspoon salt
- 2 1/4 cups (265g) all-purpose flour
What is lemon bar filling made of?
- 1 1/2 cups (400g) granulated sugar
- 6 Tablespoons (46g) all-purpose flour
- 6 eggs
- 1 cup (240ml) lemon juice
What do you need to decorate lemon bars?
- optional: confectioners’ sugar for dusting
- berries of choice
- orange slices
These key ingredients work in harmony to create the perfect balance of sweet and tangy flavors in lemon bars. Now that we have a good understanding of what goes into making these delectable treats, let’s dive into the step-by-step guide to making lemon bars.
Step-by-step guide to homemade lemon bars

Step 1: Gather your tools and ingredients
To create the ideal lemon bars, you’ll require a few essential tools and ingredients. You will need a medium bowl for the crust preparation, and a large bowl for the filling. Though a food processor can be used for either the crust or the filling, it’s not a necessity; the process is quite straightforward and can be accomplished without one. You will also need a glass pan for the backing. Do not use a metal pan, I explain below in the Q&A section why.
Step 2: Prepare the Crust
The crust is an essential part of lemon bars, providing a buttery and crumbly base for the tangy lemon filling. In a mixing bowl or the bowl of a stand mixer, combine flour, butter, sugar, and a pinch of salt. Use your fingers or a pastry cutter to blend the ingredients until the mixture resembles coarse crumbs. Press the crust mixture into a greased baking pan and make it an even layer with your hand. Then bake it until the margins get golden brown.
Step 3: Make the Lemon Curd Filling
While the crust is baking, it’s time to prepare the luscious lemon layer. In a separate bowl, whisk together freshly squeezed lemon juice, sugar, eggs, and a bit of flour. The flour helps thicken the lemon mixture and gives it a smooth texture. Pour the lemon filling over the baked crust and return the dish to the oven.
Step 4: Bake and Cool
Bake the lemon bars until the filling is set and the edges are lightly golden. This usually takes about 25-30 minutes. Once baked, remove the lemon bars from the oven and let them cool completely before cutting into squares. Dust the bars with powdered sugar for an extra touch of sweetness and presentation.
Step 5: Serve and Enjoy
Now that your lemon bars are ready, it’s time to serve and enjoy! These bars are best served chilled, so refrigerate them for a couple of hours before serving. The tangy lemon flavor combined with the buttery crust is a match made in heaven. Each bite will leave you craving for more!

Tips and Tricks for Baking Lemon Bars:
- Use fresh lemons: Fresh lemon juice and zest will provide the most vibrant and authentic citrus flavor in your lemon bars.
- Room temperature ingredients: Allow your butter and eggs to come to room temperature before using them in the recipe to ensure a smooth batter and even baking.
- Pre-baking the crust: Pre-baking the shortbread crust for 15-20 minutes before adding the lemon filling will help it stay crisp and prevent it from becoming soggy.
- Straining the lemon filling: For a smooth and silky lemon bar, strain the lemon filling through a fine-mesh sieve before pouring it onto the pre-baked crust. This will remove any lumps or zest pieces.
- Even baking: To ensure even baking, place the lemon bars in the center of the oven and rotate the pan halfway through the baking time.
- Allow to cool completely: Let the lemon bars cool completely before cutting and serving to ensure a clean and neat presentation.
Variations and Flavor Combinations:
- Lime or orange bars: Swap the lemon juice and zest for lime or orange juice and zest to create a different citrus flavor.
- Raspberry or blueberry lemon bars: Swirl some raspberry or blueberry jam into the lemon filling before baking for a fruity twist.
- Coconut or almond crust: Replace part of the flour in the crust with shredded coconut or almond flour for a unique texture and flavor.
- Lavender lemon bars: Infuse the lemon filling with dried culinary lavender to add a subtle floral note.
- Chocolate-dipped lemon bars: For a decadent twist, dip the cooled lemon bars in melted dark or white chocolate and let them set before serving.
Serving and Presentation Ideas:
- Individual servings: Cut the lemon bars into small squares or triangles and serve them in mini cupcake liners for a cute and easy-to-serve presentation.
- Lemon bar parfaits: Layer crumbled lemon bars with whipped cream and fresh berries in a glass for a layered dessert.
- Lemon bar skewers: Skewer small squares of lemon bars with fresh fruit and drizzle with a lemon glaze for a fun and portable dessert.
- Lemon bar sundaes: Serve a scoop of vanilla ice cream on top of a lemon bar and drizzle with a berry or lemon sauce for a delicious sundae.
- Lemon bar tart: Press the crust into a tart pan instead of a square baking dish, and after baking, fill with the lemon bar filling. Once cooled and set, slice into wedges and serve.
Lemon bar FAQs and troubleshooting
Now that you have all the information you need to create the perfect lemon bars, let’s address some common questions and troubleshoot any potential issues that may arise during the baking process.
Q: Why is my creamy lemon filling inverted (the filling is at the bottom while the crust rises through the lemon)?
Immediately after baking it, remove the crust from the oven. Using a fork, poke holes all over the top of the warm crust (not all the way through the crust). This step is crucial to help the filling stick and hold the crust in place.
Q: Can I use bottled lemon juice instead of fresh lemons?
While fresh lemon juice is always preferred for the best flavor, you can use bottled lemon juice in a pinch. Just make sure it is pure lemon juice without any added sugar or preservatives.
Q: Should I refrigerate the lemon bars?
Yes, you should keep them in the fridge. Since they are made with lightly cooked eggs, they might get spoiled very quickly if kept in the heat.
Q: How do I prevent my lemon bars from sticking to the pan?
To ensure easy removal, line your baking dish with parchment paper, leaving some overhang on the sides. This will allow you to lift the bars out of the dish once they are cooled.

Q: Why do my lemon bars taste eggy?
If lemon bars have a slightly eggy taste, it may indicate that they were overcooked. To avoid this, bake the lemon bars until the lemon layer has just set and is no longer jiggly. This will ensure a perfectly balanced and delicious flavor in your lemon bars.
Q: Why can’t i use a metal pan for lemon bars?
When working with highly acidic ingredients such as lemon or vinegar, it’s advisable to use heatproof glass bowls and pans, stainless steel pots, and silicone utensils. This precaution prevents the leaching of metallic substances from other materials, like aluminum or copper, into your ingredients, ensuring a pure and untainted flavor in your final dish.
Q: Why is my lemon filling curdled?
If your lemon filling appears curdled, it may be due to overmixing or adding the eggs too quickly. To prevent curdling, whisk the lemon juice, sugar, and eggs together gently until just combined.
Q: Why are my lemon bars too gooey?
When done, open the oven door largely and allow them to cool completely in the oven after baking. You’ll know they’re done when the pan doesn’t jiggle when you move it. It’s best to cut the lemon bars once they’ve reached room temperature, ensuring clean and neat slices.
Q: How do I store lemon bars?
A: Lemon bars can be stored in an airtight container in the refrigerator for up to 3-4 days. Before serving, let them come to room temperature or enjoy them chilled, depending on your preference.
With these tips and troubleshooting advice, you are now equipped to create lemon bars that are worthy of a bakery. Remember to enjoy the process and have fun experimenting with different variations. Lemon bars are a versatile treat that can be customized to suit your taste buds. So go ahead, grab some lemons, and let your baking adventure begin!
The Most Famous Version of Lemon Bars
Ina Garten, also known as the “Barefoot Contessa,” is famous for her simple yet elegant recipes. Her lemon bars are no exception. Made with a buttery shortbread crust and a tangy lemon filling, these bars are pure perfection. The secret to Ina’s lemon bars is using both lemon zest and lemon juice for an intense citrus flavor. They are a crowd favorite and will disappear in no time!

Lemon Bars Recipe Card
Lemon bars
Lemon bars are a delightful dessert that combines the perfect balance of tangy and sweet flavors. It's light fresh texture makes it suitable for any occasion, from birthdays to meal pack, from bridal showers to cosy Sunday morning delight.
Ingredients
Crust ingredients:
- 1 cup (16 Tbsp; 226g) unsalted butter, melted
- 1/2 cup (100g) granulated sugar
- 2 1/4 cups (265g) all-purpose flour
- 2 teaspoons pure vanilla extract
- 1/2 teaspoon salt
Filling ingredients:
- 1 1/2 cups (400g) granulated sugar
- 6 Tablespoons (46g) all-purpose flour
- 6 eggs
- 1 cup (240ml) lemon juice
Decoration:
- optional: confectioners’ sugar for dusting
- berries of choice
Instructions
- Gather your tools and ingredients
To create the ideal lemon bars, you'll require a few essential tools and ingredients. You will need a medium bowl for the crust preparation, and a large bowl for the filling. Though a food processor can be used for either the crust or the filling, it's not a necessity; the process is quite straightforward and can be accomplished without one. You will also need a glass pan for the backing. Do not use a metal pan, I explain below in the Q&A section why. - Prepare the Crust
The crust is an essential part of lemon bars, providing a buttery and crumbly base for the tangy lemon filling. In a mixing bowl or the bowl of a stand mixer, combine flour, butter, sugar, and a pinch of salt. Use your fingers or a pastry cutter to blend the ingredients until the mixture resembles coarse crumbs. Press the crust mixture into a greased baking pan and make it an even layer with your hand. Then bake it until the margins get golden brown. - Make the Lemon Curd Filling
While the crust is baking, it's time to prepare the luscious lemon layer. In a separate bowl, whisk together freshly squeezed lemon juice, sugar, eggs, and a bit of flour. The flour helps thicken the lemon mixture and gives it a smooth texture. Pour the lemon filling over the baked crust and return the dish to the oven. - Bake and Cool
Bake the lemon bars until the filling is set and the edges are lightly golden. This usually takes about 25-30 minutes. Once baked, remove the lemon bars from the oven and let them cool completely before cutting into squares. Dust the bars with powdered sugar for an extra touch of sweetness and presentation. - Serve and Enjoy
Now that your lemon bars are ready, it's time to serve and enjoy! These bars are best served chilled, so refrigerate them for a couple of hours before serving. The tangy lemon flavor combined with the buttery crust is a match made in heaven. Each bite will leave you craving for more!
History and Origin of Lemon Bars
Lemon bars have a rich history that dates back several decades. While the exact origin is uncertain, these delightful treats are believed to have originated in the United States in the early 20th century. The combination of tangy lemons and a buttery crust quickly gained popularity, making lemon bars a beloved dessert all across the country.
The concept of lemon bars is thought to have been influenced by the traditional lemon tart found in European cuisine. However, the American twist of incorporating a shortbread crust and a thick layer of tangy lemon filling set lemon bars apart from their European counterparts.
Over the years, lemon bars have become a staple in bakeries, cafes, and households around the world. Their vibrant yellow color and refreshing flavor make them a perfect treat for any occasion. Whether you’re craving a summer dessert or a sweet pick-me-up during the winter months, lemon bars are always a delightful choice.
Conclusion:
Lemon bars are a versatile and delicious dessert that can be adapted and presented in numerous ways to suit your personal taste and occasion. Experiment with different flavor combinations and presentation ideas to elevate your lemon bar game and impress your friends and family. Happy baking!
Discover the zesty delight of lemon bars with these best recipes. From classic to unique variations, there’s a lemon bar recipe for everyone. Impress your friends and family with lemon bars that will leave them craving for more. With our step-by-step guide, you’ll be able to create the perfect lemon bars every time. So dive into the world of citrusy goodness and awaken your taste buds with the tangy and sweet flavor explosion that only lemon bars can deliver!